
This blog post is an addition to the sewing instructions for the Thea Tote Bag. In this sew along I have chosen to have the main bag and pockets in different fabrics, and when you sew yours you can of course use the same fabric for both, or use more than two fabrics. The choices are endless!
GET THE THEA TOTE BAG PATTERN HERE
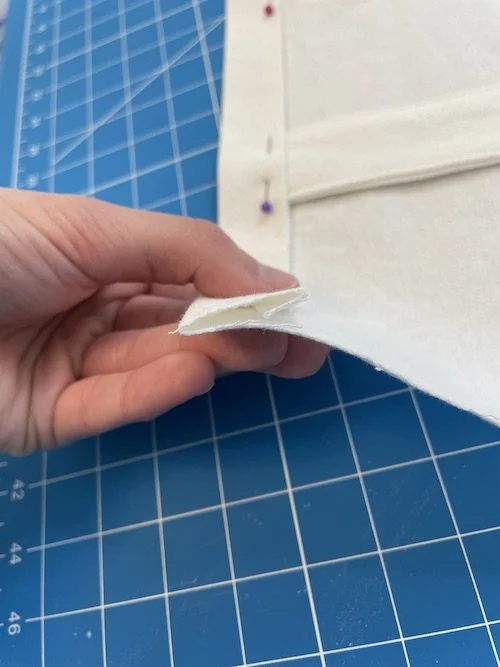
Straps
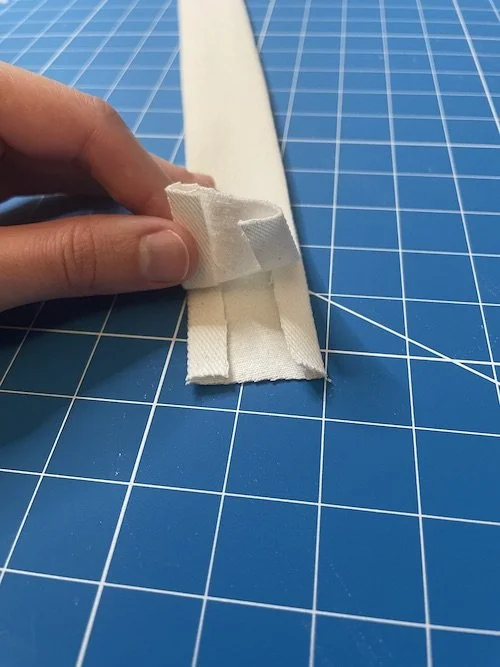
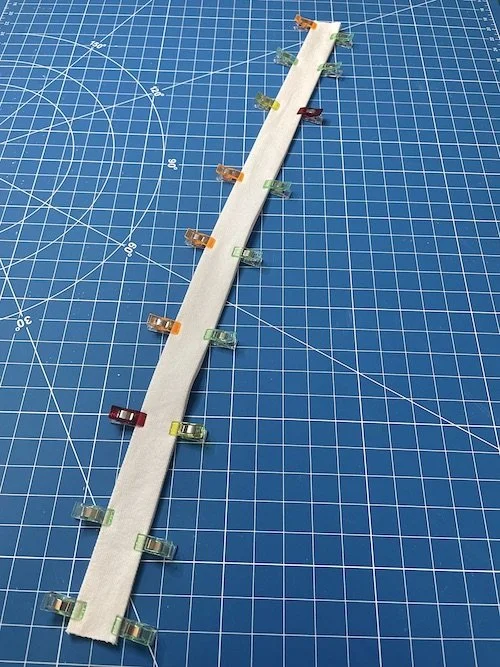
Fold and press 1 cm (3/8″) to the wrong side of the long edges of the straps. Lay two of the straps wrong sides together, matching up the long and short edges. Pin in place. Instead of pins you can use clips, which I found easier due to the bulk of four layers of fabric. Edge stitch along the long edges.

 Pocket
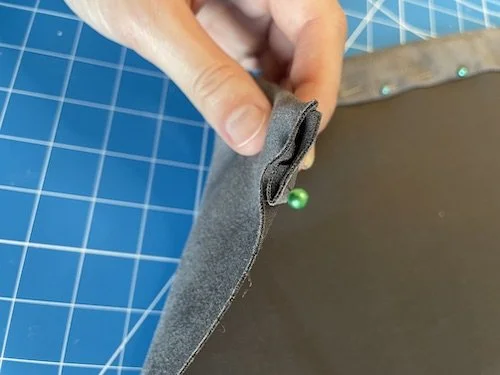
Fold and press 1 cm (3/8″) and then another 2,5 cm (1″) to the wrong side of the pocket. Edge stitch in place. Repeat on the other pocket.

Pockets to bag
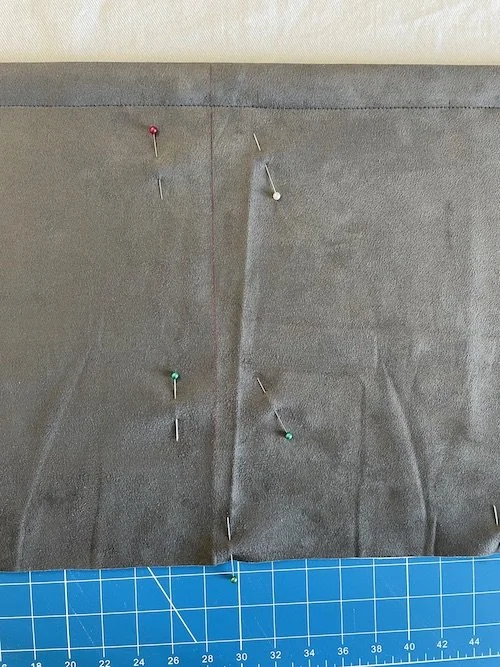
Place the pocket to the bag and line up the notches on the side of the bag with the top of the pocket and the notches on the bottom.
Pin the pocket in place so you can sew the stitch line on the pocket to divide the pocket into two pockets. Start sewing at the top of the pocket and stopping at the bottom notch.
Sew a bar tack at the top of the pocket of the pocket dividing seam to make the seam stronger. I like to sew the bar tack as a “T” so that I know that it will hold for a long time. Baste the pocket to the bag within the 1 cm (3/8″) seam allowance at the side seam and bottom. Repeat on the other pocket and bag piece.
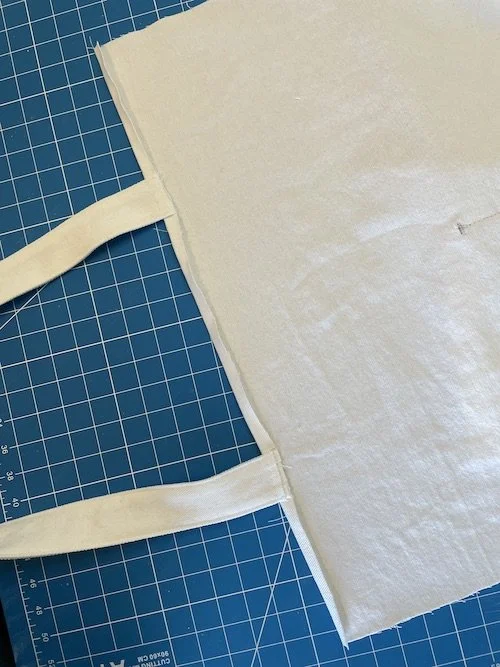
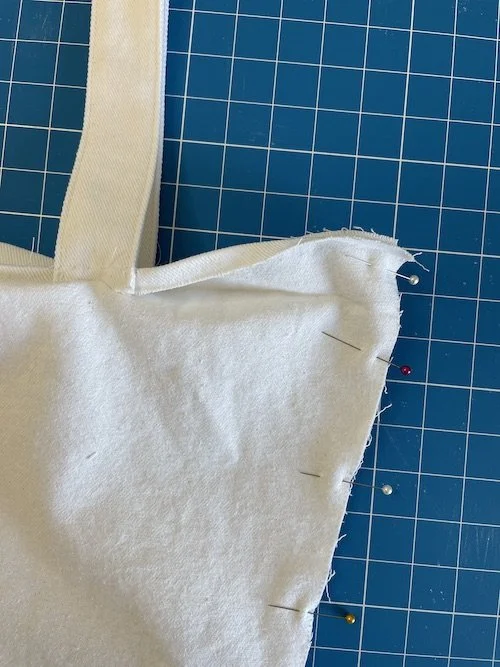
Straps to bag and hem
Place the straps between the two notches on the bag. Line up the raw edge of the bag with the raw edge of the strap. Baste in place just inside the 1 cm (3/8″) seam allowance. Fold and press 1 cm (3/8″) and then another 2,5 cm (1″) to the wrong side of the top of the bag. Pin in place, leaving about 10 cm (4″) not pinned from the side seam. Repeat on the other bag piece.
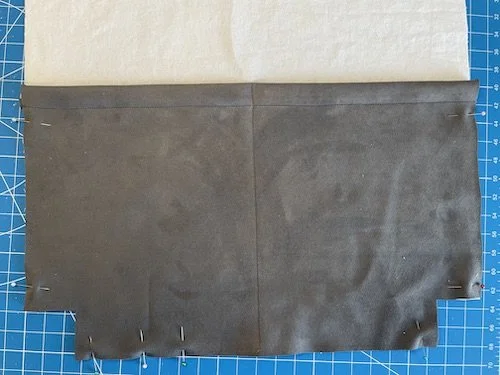
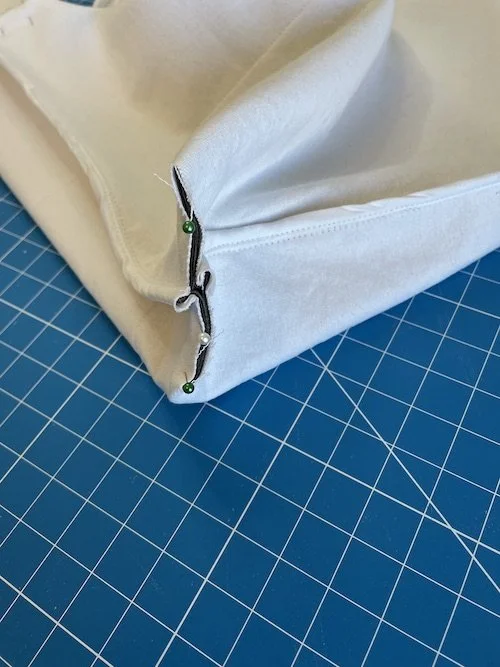
Side and bottom seam
Fold the part of the hem that you just pressed and line up the top of the side seam with the two bag pieces. Match the top of the pocket and pin the rest of the side and hem. Sew the side seams and bottom. Finish the raw edge.


Fold the corners and match up the side seam with the bottom seam. Fold both side seams to the same side and the bottom seam to the opposite side. This will reduce book as you will just sew one layer of seam allowances together instead of two. Sew and finish the raw edge.
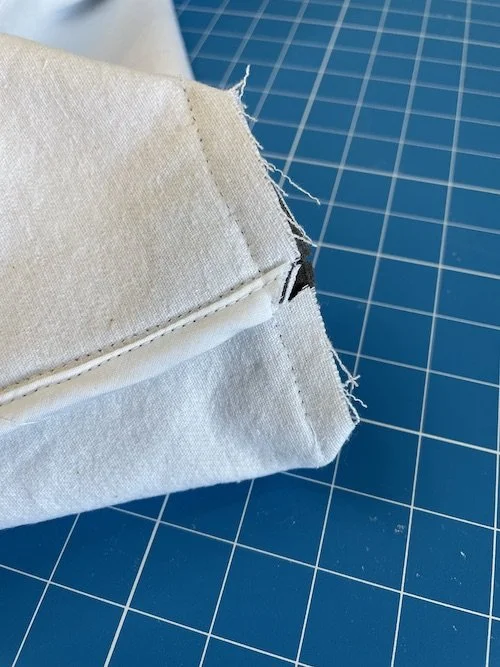
Hem
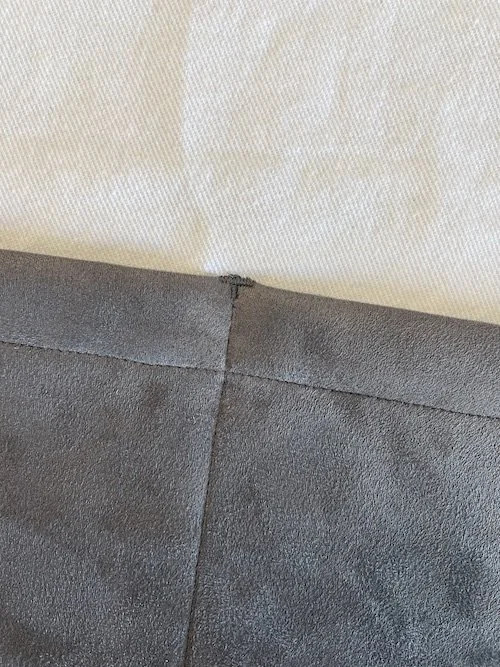
Trim away a corner of the seam allowance at the top of the side seam that will be turned under. Make sure not to cut too close to the seam. Fold the hem as you pressed it before. Press the side seam hem down so you get a crisp fold. Edge stitch around the hem from the wrong side of the bag.


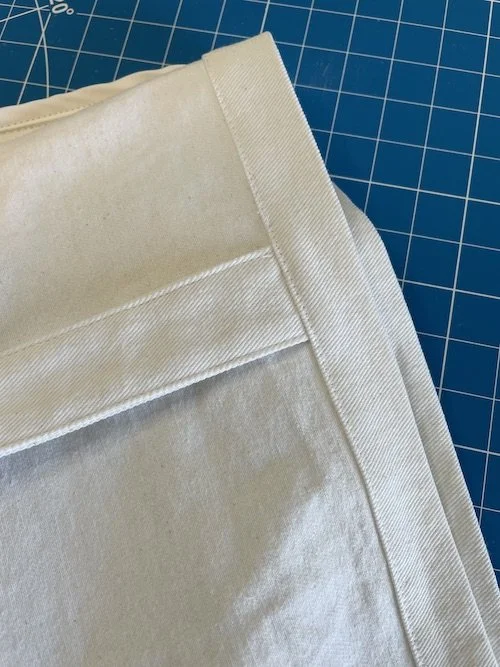
Straps and reinforcement
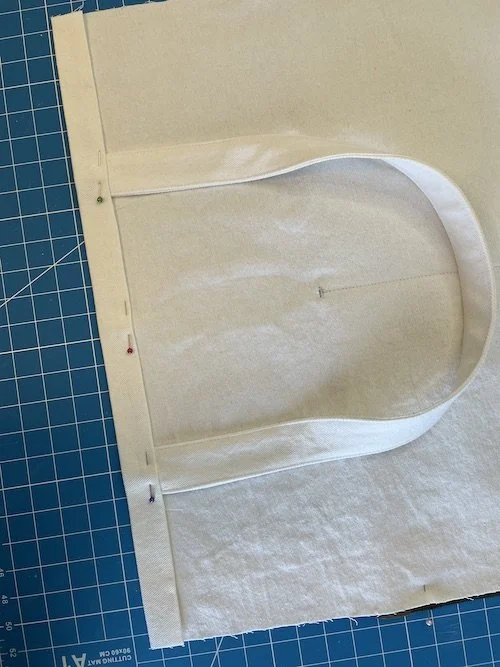
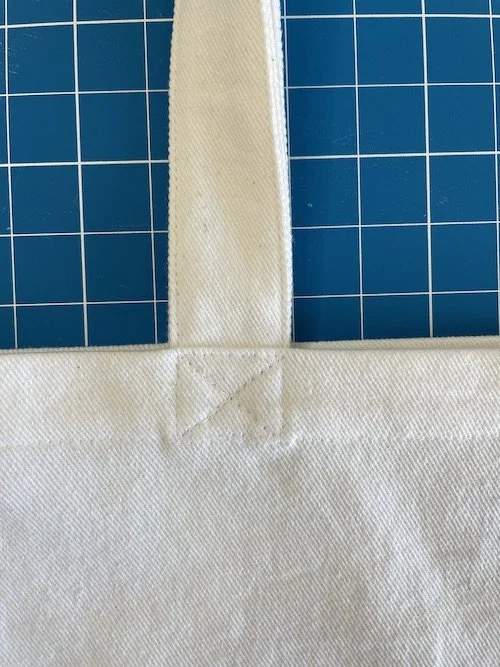
Fold and press the straps up and out of the bag. Pin in place. Stitch in a square following the edge stitch of the straps, pivot and stitch across the strap, pivot and follow the edge stitch of the strap, pivot and stitch across, and stop when you have reached your starting point.
Draw an “X” with chalk or a water/air erasable pencil from the corners of the square you just sewed. Sew along the guide lines. Repeat on all four straps.

And you are done!
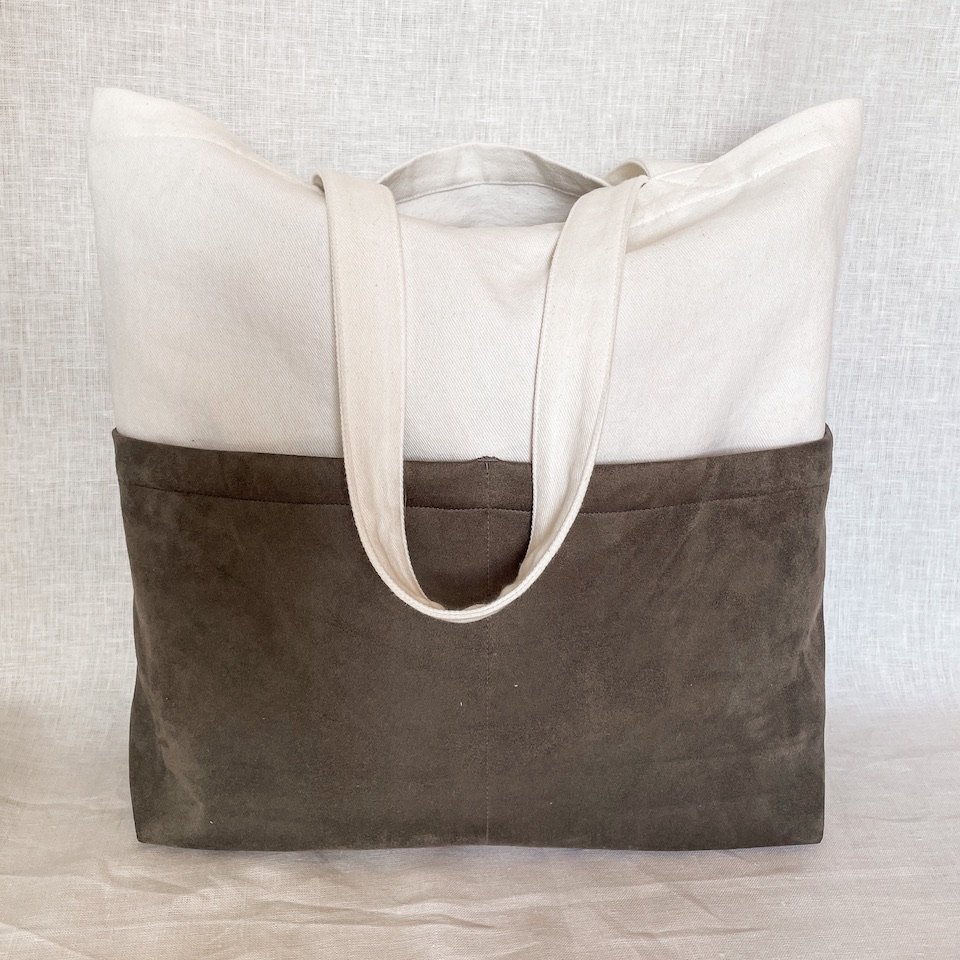
Turn your new Thea Tote Bag right side out and enjoy! I hope you will get a lot of use out of her.
Thank you so much for supporting my small business! Please share a photo of your new bag with me on Instagram with the hashtag #mdctheatotebag and tag me @michelledesignco. I can’t wait to see it!